
A tour operator departure checklist confirms the final headcount, supplier bookings, vouchers, pickup times, guide details and group communication before the trip starts. Working through it one to two weeks ahead prevents most problems on departure day and gives the group a smooth start.
A tour departure is the moment when months of planning meet real people, real flights and real roads. Every tour operator has seen a departure go wrong because a supplier was not confirmed, a pickup time was wrong or a guide did not have the passenger list. A departure checklist prevents most of these problems. It turns the final stage of a tour into a series of confirmations, each owned by one person and due on a fixed date.
This guide sets out the checklist in four stages, from two weeks before departure to the moment the group leaves.
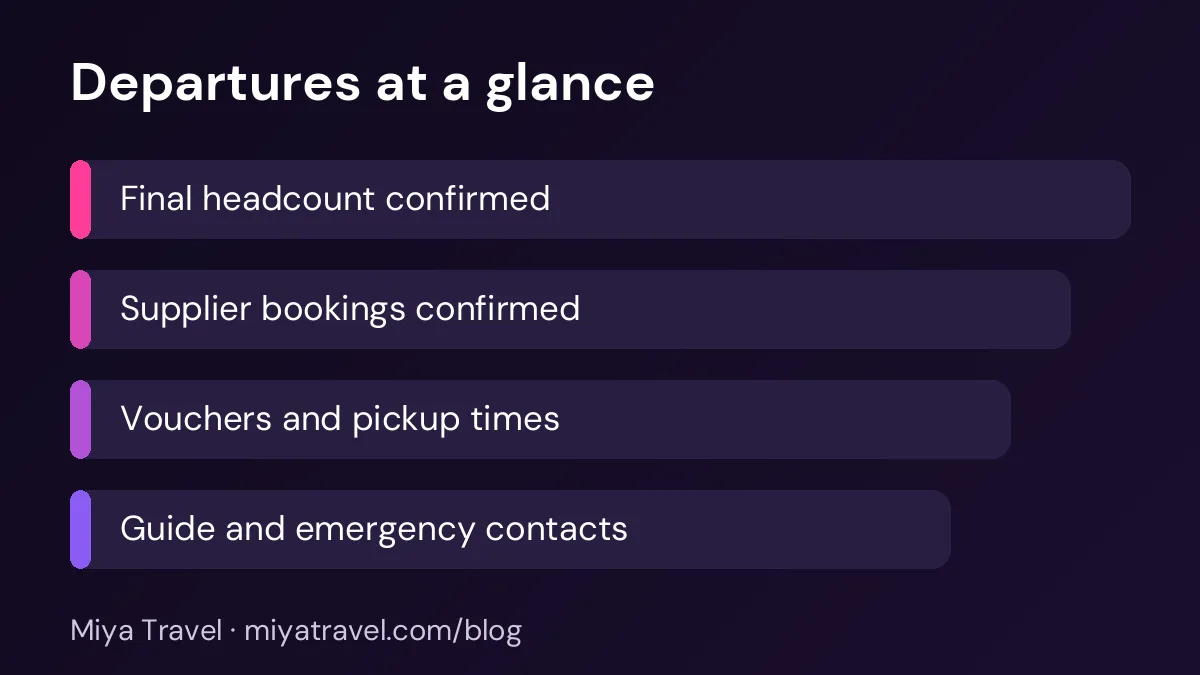
Two weeks before: confirm the headcount and the suppliers
Two weeks before departure, confirm the final headcount with the group leader or the booking records. Check that every passenger has paid the agreed amount and submitted their documents. A departure with missing payments or documents needs action now, not on the day.
At the same time, confirm every supplier booking. Check the hotels, transport operators, guides and activity providers. For each one, confirm the booking reference, the number of rooms or seats, the dates and the time of arrival. Record the confirmation in the departure file, and save the written confirmation.
Send a headcount check to every supplier on the same day. A supplier who receives the count late may hold the wrong number of rooms or seats, and it is hard to fix once the group is close.
One week before: rooming, vouchers and itinerary
One week before departure, confirm the rooming list with the hotels. Check which passengers share rooms, which need single rooms and which have special requests, such as a ground-floor room or extra beds. Send the rooming list to each hotel in writing.
Prepare the vouchers and the final itinerary. The vouchers should show the passenger names as they appear on the travel documents, the supplier name, the service and the reference number. The itinerary should show the day-by-day plan, the pickup times, the hotel names and the emergency contact number.
Send the itinerary and vouchers to the group leader, and ask them to confirm that the names and dates are correct. Give the group leader a clear deadline for any correction.
Three days before: pickup times and guide details
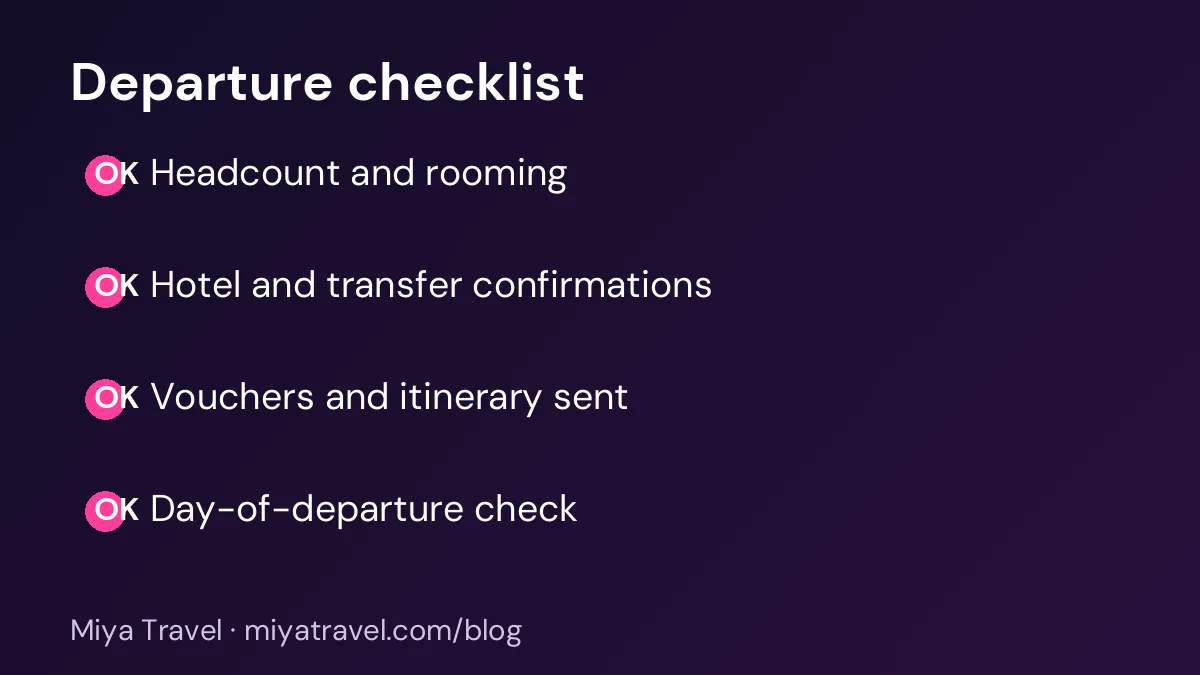
Three days before departure, confirm the pickup times with the transport operator and the meeting point with the group leader. Check the vehicle number, the driver's name and contact, and the arrival time at the first point. Send these details to the group leader and to each passenger who needs them.
Confirm the guide. Check the guide's name, contact number and language, and send the guide the passenger list and the itinerary. A guide who arrives without the passenger list cannot check the group at the meeting point, which is a common source of confusion.
Confirm any activity bookings too, such as entry tickets, boat rides and special experiences. Check the time slots and the number of seats, and record the confirmation.
Two days before: emergency and communication
Two days before departure, prepare the emergency contact list. Include the agency's emergency number, the guide's number, the hotel contacts for the first night and the group leader's number. Send the list to the group leader and ask them to share it with the group.
Check the travel documents once more. Confirm that every passenger has a valid passport or travel document where needed, and that any visa is in place. A passenger without the right document cannot board, and the problem is much harder to fix on the day.
The day before: final check
The day before departure, call the group leader to confirm the meeting point, the time and the first activity. Send a short message to every passenger with the pickup time, the meeting point and the emergency number. Keep the message short and friendly, so passengers read it.
Confirm the hotel for the first night and the check-in time. If the group arrives late, the hotel may need a note. Record the confirmation.
Departure day: the meeting point check
On departure day, arrive at the meeting point early. Check the passenger list against the people present, and mark any missing passengers. Call the group leader or the passenger to find out the status, and inform the operations team of any delay.
Hand out the vouchers and the itinerary, and confirm that each passenger has their own copy. Brief the guide and the driver on the first stops and the timing. A short briefing at the start prevents most of the confusion on the first day.
Keep records after departure
After the group leaves, record the departure as confirmed in the system. Note any change to the headcount, any supplier issue and any document problem. These records help you plan the next departure and review the suppliers.
Once the trip is complete, close the departure file, check the final supplier invoices and send the feedback form. A tour operator who learns from each departure becomes more reliable over time.
Common mistakes in departures
The first mistake is a headcount that is not confirmed with suppliers. The second is vouchers with names that do not match the passports. The third is a guide without the passenger list. The fourth is missing pickup times or the wrong meeting point. The fifth is no emergency contact list for the group.
Another mistake is leaving the checklist to one person. Assign each item to an owner, so that the confirmation happens even when someone is away.
Using the checklist in your tool
Create the checklist once as a template and apply it to each departure when it is created. Set the reminder dates two weeks, one week, three days, two days and one day before departure. Each item should have an owner and a status. The owner should see the overdue items on their list each morning.
Miya Travel supports departures in a tour operator workflow through leads, customers and quotations, and the checklists documentation explains how checklists are set up. Confirm any departure-specific features before you plan the process around them.
Handling a late arrival or a missed flight
Even with a careful checklist, a passenger may arrive late or miss a connecting flight. The response should be calm and practised. Agree the steps in advance with the guide and the group leader. Usually the group waits for a fixed time, the passenger is contacted by phone and the agency arranges the fastest way to join the group at the next stop.
Keep a note of the passenger's flight number, the scheduled arrival and the airline's helpline. A missed connection may need the airline to rebook the passenger, and that process is faster when the reference is ready. Record each step taken and the time, so the agency can explain the sequence afterwards if the client asks.
Be clear about who bears any extra cost. If the delay is caused by the airline, the passenger usually deals with the airline. If the delay is caused by a supplier, such as a transfer that did not arrive, the agency should take responsibility and arrange the fix. A clear policy avoids arguments at the airport.
Briefing the guide and the group leader
A short briefing before departure saves time and prevents mistakes. Brief the guide on the group's needs, including any medical notes, dietary requirements, elderly passengers and the pace the group prefers. Share the rooming list, the first-day plan and the emergency numbers. A guide who knows the group well can handle small problems without calling the office.
Brief the group leader on the expectations for the first day, the meeting point, the luggage handling and the way the group should communicate during the trip. Ask the leader to share the same information with the group, in writing, so that everyone has the same details.
Frequently asked questions
When should the departure checklist start?
Two weeks before departure, with the headcount and supplier confirmations. Then continue with the rooming and vouchers one week before, and the pickup and guide details three days before.
Who should confirm the headcount?
The person responsible for the departure, checking with the group leader and the booking records. Send the confirmed count to every supplier on the same day.
What should the emergency contact list include?
The agency's emergency number, the guide's number, the hotel contacts for the first night and the group leader's number. Share it with the whole group.
What should I check on departure day?
The passenger list against the people present, any missing passengers, the vouchers and itinerary for each passenger, and a short briefing for the guide and driver.
Should the checklist be the same for every departure?
Use one template for each type of tour, and adjust it for the specific destination, the suppliers and the group. Review the template after each departure.